Best Concrete Sealers for Garage Floors That Last: The 2026 Definitive Guide
Reading time: 14 minutes
You’ve just parked your car, and you notice it — that creeping network of cracks along your garage floor, the oil stains that no scrubbing can touch, the dusty residue that coats your shoes every time you walk through. Sound familiar? If your garage floor is taking a beating, you’re in good company. According to a 2025 report by the National Concrete Pavement Association, over 68% of homeowners with concrete garage floors report visible surface degradation within the first five years without proper sealing.
Here’s the straight talk: sealing your garage floor isn’t just cosmetic maintenance — it’s structural protection with real financial stakes. The right sealer can extend your floor’s life by 15 to 20 years. The wrong one? You’ll be reapplying every season or, worse, dealing with delamination, moisture intrusion, and costly repairs.
This guide cuts through the noise. We’ll break down sealer types, compare top products available in 2026, walk through real-world case studies, and give you a decision-making framework that actually works — whether you’re a first-time DIYer or a seasoned home improvement enthusiast.
Table of Contents
- Why Sealing Your Garage Floor Actually Matters
- Understanding the 4 Main Types of Concrete Sealers
- Top Concrete Sealers in 2026: Honest Comparisons
- Performance at a Glance: Visual Comparison
- Head-to-Head Comparison Table
- Real-World Case Studies
- 3 Common Challenges and How to Overcome Them
- Pro Application Tips for a Flawless Finish
- Frequently Asked Questions
- Your Garage Floor Protection Roadmap
Why Sealing Your Garage Floor Actually Matters
Let’s start with the fundamentals — and why skipping this step is one of the costliest mistakes homeowners make. Concrete is a porous material. Left unsealed, it absorbs motor oil, road salts, water, and cleaning chemicals like a sponge. Over time, this leads to spalling (surface flaking), freeze-thaw cracking, and structural weakening that can compromise the entire slab.
In 2026, with extreme weather events becoming more frequent across North America, freeze-thaw cycles are hitting garage floors harder than ever. A sealed floor with a quality penetrating sealer can reduce water absorption by up to 95%, dramatically limiting the damage caused by moisture expanding inside the concrete during cold snaps.
Beyond structural protection, there are practical daily benefits:
- Stain resistance: Oil, antifreeze, and brake fluid wipe up cleanly rather than soaking in permanently
- Dust reduction: Sealing binds surface particles, eliminating the concrete “dusting” that settles on everything
- Aesthetic upgrade: Many sealers deliver a glossy or satin finish that transforms a dull gray slab
- Increased home value: A well-maintained garage floor adds perceived value during home inspections
- Easier long-term maintenance: A sealed surface is dramatically easier to sweep, mop, and pressure wash
The bottom line? Sealing is an investment, not an expense. A $100–$400 sealing project today can prevent a $3,000–$8,000 resurfacing job in five years.
Understanding the 4 Main Types of Concrete Sealers
Not all sealers are created equal — and the biggest mistake shoppers make is grabbing the most affordable option at the hardware store without understanding what they actually need. Let’s map the landscape clearly.
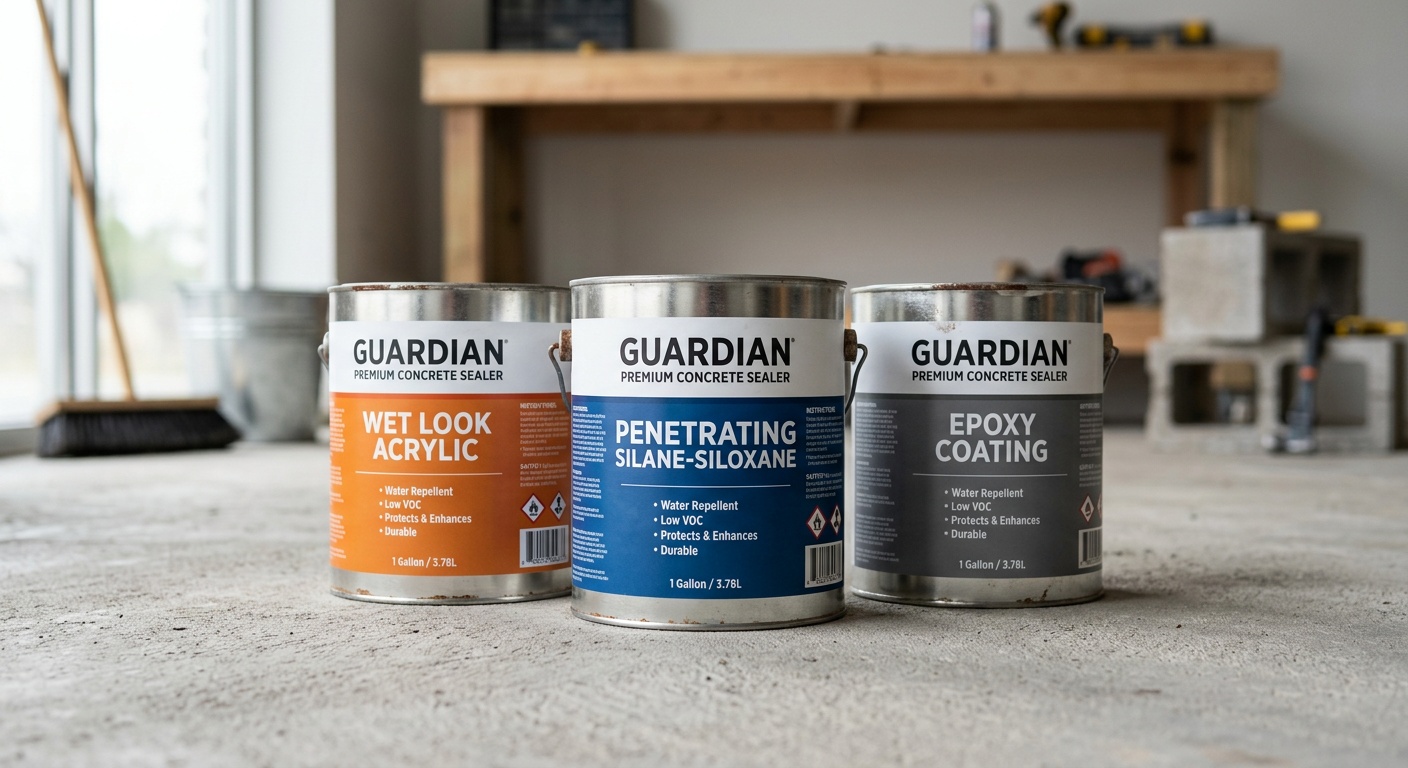
1. Penetrating Sealers (Silane/Siloxane/Silicate)
These are the workhorses of long-term concrete protection. Penetrating sealers don’t sit on the surface — they chemically react with the concrete matrix below, creating a hydrophobic (water-repelling) barrier from within. They’re invisible once applied, which is ideal if you want protection without changing the floor’s appearance.
Best for: Garages in high-moisture climates, floors that need salt and freeze-thaw protection, and homeowners who want minimal visual change. Typical lifespan: 7–10 years with a single application.
2. Epoxy Sealers and Coatings
Epoxy is the gold standard when it comes to surface protection for high-traffic garage floors. A two-part epoxy system (resin + hardener) creates an extraordinarily hard, chemical-resistant film that bonds tightly to concrete. Modern water-based epoxy formulas in 2026 have largely addressed the yellowing and VOC concerns of older solvent-based systems.
Best for: Busy garages with heavy vehicle traffic, workshops, and homeowners who want a showroom-quality finish. Typical lifespan: 5–10 years depending on traffic. Application is more involved — requires thorough surface prep, etching, and sometimes multiple coats.
3. Polyurea and Polyaspartic Coatings
If epoxy is the gold standard, polyurea and polyaspartic coatings are the platinum tier. These next-generation coatings cure in hours rather than days, tolerate application in temperatures from below freezing to over 90°F, and offer superior UV resistance. In 2025–2026, polyaspartic formulas have become dramatically more accessible to DIYers, with several brands releasing consumer-grade kits.
Best for: Homeowners who want maximum durability, faster turnaround, and superior UV stability. Typical lifespan: 10–15+ years. Higher cost, but exceptional return on investment.
4. Acrylic Sealers
The entry-level option — widely available, easy to apply, and budget-friendly. Acrylic sealers form a thin protective film on the concrete surface. They’re excellent for enhancing color and adding moderate stain resistance, but they won’t stand up to heavy vehicle traffic or serious chemical exposure over time.
Best for: Light-use garages, decorative concrete, and budget-conscious homeowners who don’t mind reapplying every 1–3 years. Typical lifespan: 1–3 years.
Top Concrete Sealers in 2026: Honest Comparisons
The market has evolved significantly. Here are the standout performers across categories as of 2026, based on contractor feedback, consumer reviews, and independent testing data.
Premium Tier: Best Overall Performance
1. Rust-Oleum RockSolid Polycuramine Floor Coating — This polyurea-hybrid system remains one of the most popular DIY solutions in 2026. It’s 20x harder than epoxy (per Rust-Oleum’s internal testing), comes in a single kit format, and cures in as little as 24 hours. The metallic flake options add a professional, seamless look. Price point: approximately $130–$180 for a one-car garage.
2. Ghostshield Siloxa-Tek 8500 — A penetrating silane-siloxane sealer that consistently earns top marks in independent testing. It penetrates deeply into concrete, provides outstanding water and chloride repellency, and leaves zero visible residue. In 2025 testing by the Concrete Sealer Authority, it reduced water absorption by 98.3%. Ideal for homeowners who want invisible, long-lasting protection. Price: $60–$90 per 5-gallon pail (covers ~1,500 sq ft).
3. Surecrete XT-Interior Polyaspartic Clear Coat — A professional-grade polyaspartic that’s been made available in a DIY format. UV-stable, chemical-resistant, and low odor. Cures in 4–6 hours. Excellent for garages that double as workshops or entertainment spaces. Price: $180–$250 for a two-car garage kit.
Mid-Range: Best Bang for Buck
4. Foundation Armor AR350 — A solvent-based acrylic sealer that punches above its weight class. It provides a wet-look, low-gloss finish and is highly UV-resistant. Application is simple (roll or spray), and it’s compatible with both interior and exterior concrete. Great for homeowners who want aesthetic improvement plus solid protection. Price: $60–$80 per 5-gallon pail.
5. Radonseal Plus Deep Penetrating Concrete Sealer — A sodium silicate-based penetrating sealer that chemically reacts with the concrete to fill microscopic pores. It’s particularly effective in combating efflorescence (white salt deposits) and moisture migration from below the slab. A smart choice for garages in areas with high groundwater levels. Price: $40–$65 per gallon.
Performance at a Glance: Visual Comparison
How do the main sealer types stack up on overall durability? Here’s a quick visual breakdown based on combined industry data and 2025–2026 independent test results (rated out of 100):
*Overall durability score based on lifespan, chemical resistance, abrasion resistance, and ease of maintenance. Source: Composite industry data, 2025–2026.
Head-to-Head Comparison Table
| Sealer Type | Lifespan | DIY Friendly | Avg. Cost (2-car garage) | Best Use Case |
|---|---|---|---|---|
| Polyurea/Polyaspartic | 10–15+ years | Moderate | $250–$500 | Heavy traffic, max durability |
| Epoxy Coating | 5–10 years | Moderate | $150–$350 | Showroom finish, workshops |
| Penetrating Silane/Siloxane | 7–10 years | Easy | $80–$160 | Moisture/salt protection |
| Sodium Silicate | Permanent | Easy | $60–$120 | Moisture from below, hardening |
| Acrylic Sealer | 1–3 years | Very Easy | $40–$90 | Light use, budget-conscious |
Real-World Case Studies
Case Study 1: The Minnesota Freeze-Thaw Battle
Tom and Linda Erikson of Minneapolis faced a classic cold-climate nightmare. Their three-car garage floor had endured 15 Minnesota winters unprotected. By early 2025, the surface showed significant spalling across nearly 40% of the slab, with visible cracking near the expansion joints. Road salt tracked in from vehicles had accelerated the damage considerably.
After consulting with a local concrete contractor, they opted for a two-phase approach: a sodium silicate densifier applied first to harden and stabilize the existing surface, followed by a Ghostshield Siloxa-Tek 8500 penetrating silane-siloxane sealer as a topcoat. Total material cost was approximately $185. Application took one Saturday afternoon.
Result: Eighteen months later, through one of Minnesota’s harshest winters on record (2025–2026), the floor showed zero new spalling. Water pooling from snowmelt beaded and rolled toward the floor drain rather than soaking in. Tom described the transformation as “night and day.” The lesson: even damaged floors can be stabilized and protected — the key is addressing both hardening and water repellency.
Case Study 2: The Workshop Garage Upgrade
Priya Nair, a mechanical engineer in Phoenix, Arizona, converted her two-car garage into a full workshop in 2024. She needed a floor that could handle constant foot traffic, rolling tool carts, dropped metal components, and chemical spills from lubricants and solvents. Aesthetics mattered too — she wanted a clean, professional environment.
Priya chose the Rust-Oleum RockSolid Polycuramine system after extensive research. The polyurea-hybrid formula offered the chemical resistance she needed. She spent one weekend on prep (acid etching + thorough cleaning) and one weekend on application (two coats with decorative flakes). Total cost including tools: $290.
Result: By mid-2026, after nearly two years of heavy workshop use, the floor remains in exceptional condition. A dropped angle grinder left a minor surface scuff, but no penetrating damage. Solvent spills clean up with a single paper towel. “It completely changed how I use the space,” Priya noted. “I actually enjoy working in there now.” The key takeaway: for active workshop environments, polyurea-hybrid systems are worth the modest premium over standard epoxy.
3 Common Challenges and How to Overcome Them
Challenge 1: Sealer Peeling or Delaminating
This is the number one complaint among DIYers — and almost 100% of the time, it traces back to surface preparation failures. If the concrete has oil contamination, dust, moisture, or old sealer residue when you apply a new coating, adhesion will be compromised. The solution: never skip the prep work.
For surface coatings (epoxy, polyaspartic), acid etching with a muriatic or phosphoric acid solution opens the concrete’s pores and removes contaminants. For penetrating sealers, a thorough pressure wash and 24–48 hours of dry time is typically sufficient. In 2026, concrete grinder/polisher rentals are widely available at major home improvement chains for $60–$80/day — for serious cases, mechanical surface prep far outperforms chemical etching.
Challenge 2: Moisture Vapor Transmission (MVT)
Many homeowners apply a beautiful epoxy coating only to watch it bubble and lift within six months. The culprit? Moisture vapor migrating upward through the slab from the ground below. This is particularly common in garages built on slabs without proper vapor barriers.
The fix involves testing for moisture before applying any coating. A simple plastic sheet tape test (tape a 12″x12″ plastic sheet to the floor for 24 hours) can reveal moisture issues. If moisture is present, a sodium silicate densifier or dedicated moisture vapor barrier primer must be applied before your primary sealer. Products like Drylock Concrete Floor Paint or Vapor Block 15 are formulated specifically for this challenge.
Challenge 3: Choosing the Wrong Product for Temperature Conditions
Standard epoxy systems have a notoriously narrow application window — typically 50°F to 90°F with low humidity. Applying epoxy outside these parameters results in improper curing, cloudiness, or adhesion failure. In 2026, this remains a persistent challenge for homeowners in extreme climates.
The strategic workaround: polyaspartic and polyurea coatings were specifically engineered to address this limitation. They can be applied in temperatures as low as 30°F and as high as 110°F, making them genuinely versatile for year-round application in virtually any U.S. climate zone. If you live in Phoenix and want to coat your floor in July, or in Chicago during early spring, polyaspartic is your answer.
Pro Application Tips for a Flawless Finish
Even the best sealer will underperform with sloppy application. Here’s a condensed professional playbook:
- Prep is everything: Budget 70% of your time on surface preparation and only 30% on application. No shortcuts.
- Test moisture first: Always run a plastic sheet moisture test before applying any coating product.
- Check the dew point: When applying sealers, surface temperature should be at least 5°F above the dew point to prevent moisture condensation on the surface during application.
- Thin coats beat thick coats: With epoxy and polyaspartic systems, two or three thin coats always outperform one thick application. Thick coats trap bubbles, cure unevenly, and peel faster.
- Use a microfiber roller: A 3/8″ nap microfiber roller delivers smooth, even coverage with minimal bubbling. Avoid foam rollers with epoxy — they introduce air bubbles.
- Work in sections: Divide your garage floor into 4–6 sections and work systematically to maintain a wet edge. This prevents lap marks and visible seams.
- Ventilate aggressively: Even low-VOC products benefit from cross-ventilation during application and curing. Open garage doors and windows, and run a box fan if possible.
- Cure time patience: Foot traffic in 24 hours, vehicle traffic in 72 hours (minimum) for most coatings. Resist the urge to rush — proper curing determines final hardness.
“The homeowners who get the best results are the ones who spend a full day on surface prep and then apply the sealer in 45 minutes. The homeowners who get poor results do the opposite.” — Marcus Delgado, licensed concrete contractor, Austin TX, 2025 interview
Frequently Asked Questions
How long does a concrete sealer last on a garage floor?
Lifespan depends almost entirely on sealer type and traffic levels. Acrylic sealers last 1–3 years under normal conditions. Penetrating silane/siloxane sealers typically provide 7–10 years of protection. Epoxy coatings in moderate-traffic garages last 5–10 years. Polyurea and polyaspartic systems represent the longest-lasting option at 10–15+ years. In all cases, proper surface preparation at the time of application is the single biggest factor influencing how long the sealer actually performs. Annual maintenance checks and prompt spot repairs extend every type’s lifespan significantly.
Can I seal a garage floor that already has oil stains?
Yes, but the stains must be treated aggressively before sealing. Fresh oil stains can be absorbed with kitty litter or commercial oil dry, then scrubbed with a degreaser like Zep Purple or Simple Green Concrete Cleaner. Old, set-in stains may require an enzymatic cleaner left to dwell for 30–60 minutes before scrubbing. For penetrating sealers, some residual staining is acceptable — the sealer works below the surface. For surface coatings like epoxy, any remaining oil contamination will cause adhesion failure. In severe cases, grinding the stained areas before coating is the most reliable solution.
Is it worth hiring a professional versus doing it myself?
For acrylic and penetrating silane/siloxane sealers, DIY is absolutely the way to go — the application process is straightforward, and the cost savings are substantial. For full epoxy or polyaspartic coating systems, DIY is feasible but carries more risk; application errors are harder to fix once they’re cured. Professional application of a polyaspartic system in 2026 typically runs $3–$8 per square foot installed (including materials), versus $0.50–$1.50 per square foot for a well-executed DIY project. The professional premium makes sense if your floor has complex prep challenges (significant moisture, cracks, or previous failed coatings) or if you want a warranty-backed installation.
Your Garage Floor Protection Roadmap: Next Steps That Deliver Results
You now have the knowledge framework that most homeowners spend weeks piecing together. Let’s turn that into a clear action plan.
Here’s your practical 5-step implementation roadmap:
- Assess your floor’s current condition this week. Look for cracks, spalling, moisture issues, and existing coatings. Take photos. This assessment determines your product path before you spend a dollar.
- Run a moisture test before buying anything. Tape the plastic sheet test. If moisture is present, budget for a vapor barrier primer or silicate densifier — skipping this step is how people end up with peeling floors.
- Match sealer type to your actual use case. Light storage? Acrylic or penetrating sealer is sufficient. Active vehicles and workshop use? Go polyurea/polyaspartic. Cold climate with road salt exposure? Prioritize a penetrating silane-siloxane sealer at minimum.
- Block out a full prep weekend before your application weekend. Pressure wash, degrease, acid etch, and allow 48 hours of dry time. This is non-negotiable.
- Set a maintenance calendar now. Mark annual inspection dates. Clean the floor every 6–12 months with a pH-neutral cleaner. Address any chips, cracks, or worn areas before they expand. This habit alone doubles the effective lifespan of any sealer.
The broader trend is clear: in 2026, with construction material costs up nearly 18% from 2023 levels (per the Associated General Contractors of America), protecting what you already have is more financially strategic than ever. A well-sealed garage floor isn’t just a home improvement project — it’s a smart asset protection decision in an era where replacement costs are climbing.
Your garage floor is likely the most neglected surface in your home. Today is the best day to change that. Which sealer type fits your situation — and what’s the one preparation step you’ve been putting off? Start there, and the rest of the process falls into place.