Heated Tile Floors in Sunrooms: The Complete 2026 Cost and Installation Guide
Reading time: 14 minutes
You finally built your dream sunroom. The glass panels let in gorgeous morning light, the plants are thriving, and the space almost feels like a year-round retreat — until November hits and the tile floor turns into an ice rink. Sound familiar? You’re not alone.
Heated tile floors in sunrooms have surged in popularity, with the radiant floor heating market growing by roughly 8.4% annually through 2025, according to Allied Market Research. And in 2026, with energy-efficient home upgrades sitting at the top of most homeowner wishlists, in-floor heating is no longer a luxury reserved for high-end custom builds — it’s a practical investment that transforms a three-season room into a four-season sanctuary.
But here’s the straight talk: not every sunroom project is the same. The costs, installation complexity, and long-term value vary wildly depending on your floor structure, your climate zone, and which heating system you choose. This guide cuts through the noise and gives you a precise, actionable roadmap — whether you’re in the planning phase or already pulling up old tile.
Table of Contents
- Why Sunrooms Need Radiant Floor Heating (More Than Any Other Room)
- Types of Heated Floor Systems: Which One Fits Your Sunroom?
- Full Cost Breakdown: What to Budget in 2026
- Installation Process: Step-by-Step Overview
- Real-World Scenarios: Two Homeowners, Two Approaches
- Common Challenges and How to Overcome Them
- Comparison: Electric vs. Hydronic for Sunrooms
- Energy Efficiency and Smart Controls in 2026
- Frequently Asked Questions
- Your Warm-Floor Roadmap: Next Steps
Why Sunrooms Need Radiant Floor Heating More Than Any Other Room
Sunrooms are thermally vulnerable spaces. Unlike interior rooms insulated by surrounding walls and floors, a sunroom is typically bounded on three or more sides by glass or polycarbonate panels, and often sits above an unconditioned crawlspace or a concrete slab poured directly on grade. That combination creates what HVAC engineers call a “thermal bridge nightmare” — heat disappears almost as fast as you introduce it.
Forced-air heating, the default for most homes, struggles in sunrooms for a simple reason: warm air rises and escapes through all that glass before it ever warms you or your guests. Radiant floor heating, by contrast, warms from below — heating the thermal mass of the tile and radiating consistent, low-level heat upward. You feel it. The tile feels warm underfoot. The room feels genuinely habitable, even when it’s 20°F outside.
According to a 2025 study by the Radiant Panel Association (RPA), homeowners with radiant floor heating in sunrooms reported up to 25% lower heating costs compared to those relying on supplemental electric baseboard or portable space heaters — primarily because radiant systems maintain even temperatures without cycling on and off aggressively.
There’s also a comfort physics argument: radiant floors heat objects and people directly through infrared radiation, rather than heating air that then heats you. This means you can feel comfortable at a lower thermostat setting — typically 2–4°F lower — which compounds energy savings over a full heating season.
Types of Heated Floor Systems: Which One Fits Your Sunroom?
Electric Radiant Floor Heating (Most Common for Sunrooms)
Electric radiant systems use thin heating cables or pre-made mesh mats embedded in mortar beneath your tile. They’re the go-to choice for sunroom applications in 2026 for three reasons: lower upfront installation cost, no need for a boiler or extensive plumbing, and the ability to zone the sunroom completely independently from your home’s primary heating system.
Two main formats exist:
- Heating cables: Loose cables stapled to the subfloor or floated in mortar. More flexible for irregular room shapes and around obstacles like columns or built-ins. Slightly more labor-intensive to install.
- Heating mats: Pre-spaced cables on a fiberglass mesh. Easier and faster to install in standard rectangular spaces. Ideal for DIY-capable homeowners comfortable with tile work.
The typical wattage for a sunroom is 10–15 watts per square foot of heated area. A 200-square-foot sunroom would need a 2,000–3,000 watt system, drawing roughly the same power as two to three standard hair dryers — but only running in short cycles to maintain temperature.
Hydronic Radiant Floor Heating (Best for Large or Whole-Home Projects)
Hydronic systems circulate heated water through PEX tubing beneath the floor. They’re extraordinarily efficient for large areas and whole-home applications, but the upfront cost is substantially higher due to boiler installation, manifolds, and pump systems. For a standalone sunroom retrofit, hydronic rarely makes financial sense unless you’re already installing it elsewhere in the home and can extend the zone cheaply.
That said, if you’re building a new sunroom addition in 2026 alongside a whole-home hydronic system, adding a sunroom zone can cost as little as $2,000–$4,000 incrementally — a compelling value proposition.
Infrared Radiant Panels (An Alternative Worth Knowing)
Not technically in-floor, but worth a mention: ceiling-mounted or wall-mounted infrared radiant panels have become increasingly affordable in 2026, with quality units starting around $300–$600. They don’t provide the underfoot warmth of tile heating, but for sunrooms with structural limitations (thin slabs, low subfloor clearance), they’re a viable supplementary strategy. Many homeowners combine in-floor tile heating with one infrared ceiling panel for particularly cold climates.
Full Cost Breakdown: What to Budget in 2026
Let’s get specific. Generic “costs between $X and $Y” ranges don’t help you plan a real project. Here’s what you’re actually dealing with in 2026, broken down by component:
Electric System: Cost per Square Foot
- Heating mats or cable (materials only): $8–$15 per sq ft
- Thermostat/controller (smart Wi-Fi model): $150–$350 per zone
- Tile and tile adhesive (mid-range porcelain): $5–$18 per sq ft installed
- Self-leveling underlayment (if needed): $1.50–$3.50 per sq ft
- Electrician labor (dedicated circuit, GFCI protection): $300–$800 per zone
- Tile installer labor: $6–$12 per sq ft
Total installed cost estimate (200 sq ft sunroom, electric system, mid-range tile):
- DIY-friendly approach (you lay tile, electrician handles wiring): $3,500–$5,500
- Full professional installation: $6,000–$10,500
Hydronic System: Cost per Square Foot
- PEX tubing: $1–$2 per sq ft
- Boiler (if new installation): $3,500–$8,000
- Manifold, pump, and controls: $800–$2,500
- Labor for plumbing and installation: $4–$8 per sq ft
Total installed cost estimate (200 sq ft sunroom, new hydronic system): $12,000–$22,000+. This only makes financial sense if you’re integrating it into a broader whole-home hydronic project.
Operating Costs: The Number Most People Miss
In 2026, the average U.S. residential electricity rate sits at approximately $0.17 per kWh (U.S. Energy Information Administration, Q1 2026 estimate). A 200-square-foot sunroom with a 2,400-watt electric mat system running 6 hours per day in winter would consume roughly 14.4 kWh/day, costing about $2.45 per day or $73–$90 per month during peak heating months. With a smart thermostat reducing runtime by 20–30%, that drops to $50–$70/month — highly manageable for the comfort delivered.
Installation Process: Step-by-Step Overview
Whether you’re hiring a contractor or planning a semi-DIY approach, understanding the sequence helps you ask the right questions and avoid costly mistakes.
Step 1: Assess the Subfloor
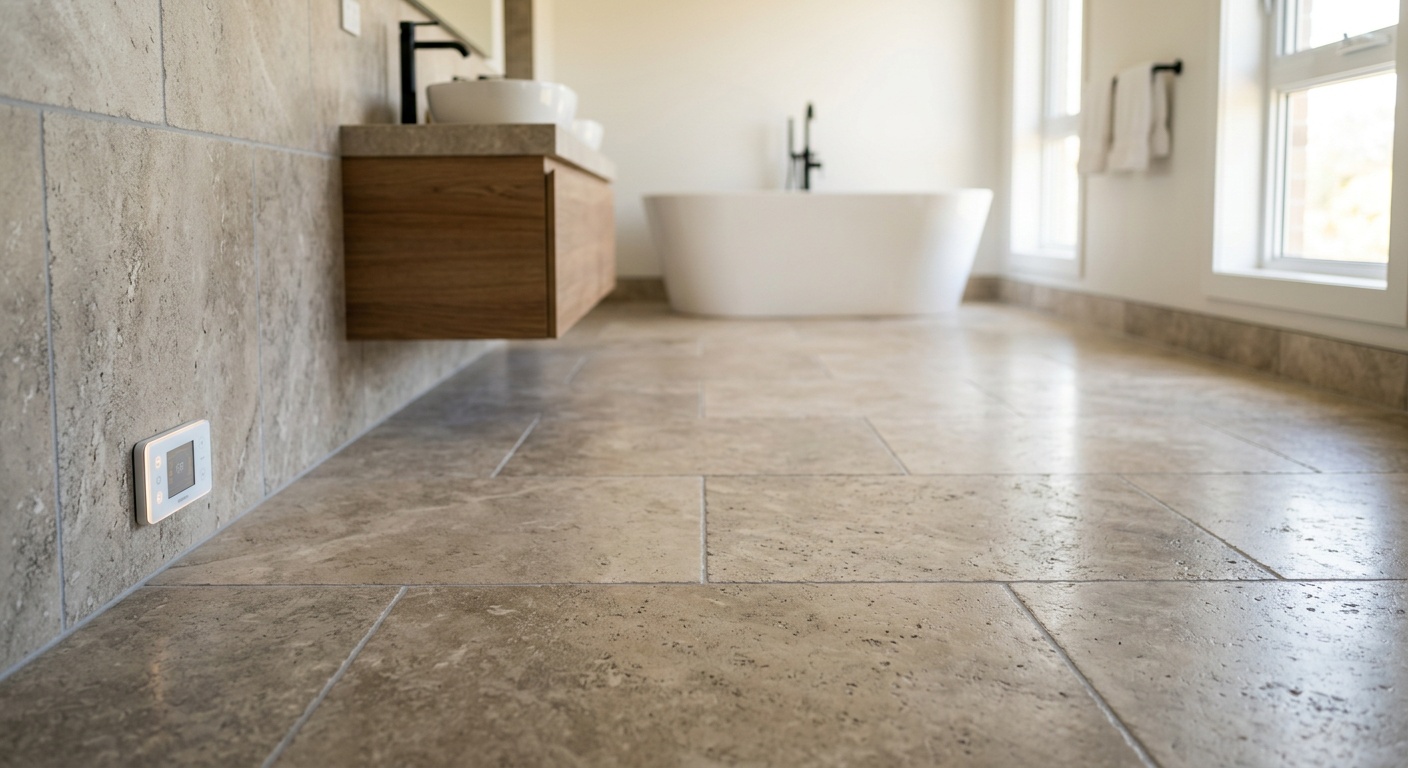
This is the step most homeowners underestimate. Sunroom floors are often concrete slabs — great news for radiant heating, since concrete holds and radiates heat beautifully. However, if the slab has cracks, moisture issues, or significant unevenness (more than 3/16″ over 10 feet), these must be addressed before any heating system is installed. Moisture testing with a calcium chloride test kit is strongly recommended for slabs before installation.
Step 2: Install Thermal Insulation Board (Critical for Sunrooms)
This step is non-negotiable in sunrooms, especially those above crawlspaces or exterior slabs. A 1/4″–1/2″ layer of rigid thermal insulation board (such as Schluter DITRA-HEAT-DUO or similar products) prevents heat from escaping downward into the ground or unconditioned space below. Without it, you’re literally heating the earth, and your system will run 30–50% longer to maintain temperature. The insulation board also decouples the tile from the slab, reducing crack propagation risk.
Step 3: Lay the Heating Cables or Mats
Heating mats are unrolled and positioned in the heated zone. Important: never overlap cables, never cut the heating cable itself (only the mesh backing), and always leave a 2–3 inch gap from walls, cabinets, or fixed obstacles to prevent hot spots. Use a digital ohmmeter to verify resistance values before and after embedding — this is your quality control checkpoint.
Step 4: Embed in Thin-Set and Install Tile
A modified thin-set mortar is troweled over the heating mats, embedding the cables fully. Tile is then set in the normal fashion. It’s critical that the mortar fully encapsulates the cable — any air pockets create thermal stress points that can shorten system life. Allow a minimum 28-day cure time before turning on the system for the first time (some manufacturers require 21 days minimum).
Step 5: Wire the Thermostat and Commission the System
A licensed electrician installs the dedicated circuit (typically 20-amp), GFCI breaker, and the programmable thermostat with floor sensor. The sensor is embedded in the mortar between cables during Step 4. Smart thermostats like the nUHeat ELEMENT or Warmup 4iE (both updated for 2026 compatibility with home automation platforms) allow app-based scheduling, remote control, and energy monitoring.
Real-World Scenarios: Two Homeowners, Two Approaches
Scenario 1: The Three-Season Sunroom in Minnesota
Consider a scenario like this: a homeowner in Minneapolis with a 180-square-foot three-season sunroom attached to a 1990s ranch home. The room had an existing ceramic tile floor over a concrete slab, but the slab was cold and cracked in two spots. The goal: convert it to a fully functional year-round room for under $8,000 total.
The approach taken was a full tile replacement with a Schluter DITRA-HEAT system — an all-in-one uncoupling, waterproofing, and radiant heating membrane. The cracked slab was repaired with epoxy filler, the DITRA-HEAT membrane was bonded directly to the slab, heating cables were woven into the membrane’s square cavities, and large-format 24×24 porcelain tile was set on top. A Warmup 4iE thermostat was installed by a licensed electrician. Total project cost: approximately $7,200, with a $500 rebate from the local utility for energy-efficient system installation. In its first full winter season, the room was used comfortably down to -5°F outdoor temperatures with the heating system and cellular blinds managing heat loss through the glazing.
Scenario 2: New Sunroom Build in North Carolina
A contrasting scenario: a new 320-square-foot four-season sunroom addition in Charlotte, NC, built in 2025 with completion in early 2026. Because the room was purpose-built, the contractor poured a thickened slab with 2 inches of rigid foam insulation underneath — eliminating ground heat loss before the building even started. A hydronic radiant system was installed in the slab before pour, tied to the home’s existing high-efficiency gas boiler with a new zone valve and thermostat. The cost for the radiant portion alone was $3,800 incremental (not counting the slab preparation), and in a mild climate like Charlotte’s, the room requires heat only about 90 days per year. This homeowner’s monthly operating cost during heating season averages just $28–$35 — a compelling argument for hydronic when the infrastructure already exists.
Common Challenges and How to Overcome Them
Challenge 1: Heat Loss Through Glazing Undermines System Performance
Even the best in-floor heating system will struggle if your sunroom glazing is single-pane or poorly sealed. In 2026, most new sunroom manufacturers offer triple-glazed, argon-filled, low-E glass panels as standard — but many existing sunrooms still have older glazing with U-values of 0.6 or worse. If you’re retrofitting heating into an older sunroom, upgrading to double or triple glazing alongside the floor heating project will dramatically improve comfort and reduce operating costs. The payback on glazing upgrades can be 5–8 years, while the comfort improvement is immediate.
Quick fix if full glazing replacement isn’t in budget: Apply low-E window film (3M Thinsulate or similar) to existing glass panels. This can improve U-values by 30–40% for $200–$500 in materials — a meaningful short-term solution while you save for a full glazing upgrade.
Challenge 2: Subfloor Height and Door Clearance
Adding a thermal insulation board, heating system, mortar bed, and tile can raise the finished floor height by 1.5–2.5 inches. In sunrooms with existing door thresholds or transitions to the main house floor, this can create trip hazards or require door replacement. Before committing to a system, measure your existing door clearances and discuss height options with your installer. Ultra-thin electric systems (some as thin as 1/8″) exist for minimal height-gain situations, though they sacrifice some thermal storage capacity.
Challenge 3: Electrical Capacity Constraints
Older homes with 100-amp electrical panels may not have spare capacity for a dedicated 20-amp radiant heating circuit alongside other sunroom loads (lighting, outlets, ceiling fans). A 200 sq ft electric radiant system at 15 watts/sq ft draws 3,000 watts — about 12.5 amps on a 240V circuit or 25 amps on 120V. If your panel is near capacity, budget $800–$2,500 for a panel upgrade or subpanel installation as part of the project. Get your electrician to assess panel capacity before purchasing heating components.
Comparison: Electric vs. Hydronic Radiant for Sunrooms
| Factor | Electric Radiant | Hydronic Radiant |
|---|---|---|
| Upfront Cost (200 sq ft) | $3,500–$10,500 | $12,000–$22,000+ |
| Operating Cost (per heating season) | $200–$450 | $80–$200 (gas) |
| Installation Complexity | Low–Medium (DIY possible) | High (professional required) |
| System Lifespan | 25–35 years | 30–50 years |
| Best Use Case | Standalone sunroom; retrofit projects | New construction; whole-home hydronic |
Energy Efficiency and Smart Controls in 2026
One of the most meaningful shifts in radiant floor heating over the past two years has been the integration of AI-assisted smart thermostats. Platforms like Warmup’s SmartGeo technology (updated in late 2025) now use geofencing combined with local weather API data to pre-heat your sunroom based on when you typically use it and what the outdoor temperature is forecast to be. The result is a system that almost never heats an empty room, reducing energy consumption by 20–40% compared to a standard programmable thermostat.
In 2026, several major radiant heating brands — including nUHeat, Warmup, ThermoSoft, and SunTouch — offer full integration with Apple HomeKit, Google Home, Amazon Alexa, and Matter protocol (the cross-platform smart home standard that became widely adopted in 2024–2025). This means your sunroom floor heating can be part of automated morning routines, vacation modes, or triggered by your home’s occupancy sensors.
Pro Tip: When shopping for a thermostat, prioritize one with a floor temperature sensor and an air temperature sensor. The floor sensor prevents tile from overheating (most tile systems have a maximum floor temp limit of 82–85°F to protect the adhesive and grout), while the air sensor controls comfort more naturally. Dual-sensor thermostats cost $50–$100 more but prevent both system damage and energy waste.
Utility Rebates and Tax Incentives in 2026
Don’t overlook available incentives. The Inflation Reduction Act’s residential energy efficiency provisions, extended through 2032, continue to offer tax credits for energy-efficient home improvements. As of 2026, radiant floor heating systems installed as part of a broader whole-home energy efficiency upgrade may qualify for credits under the Energy Efficient Home Improvement Credit (Section 25C) — consult your tax advisor for applicability to your specific project. Additionally, many state utility programs (particularly in New England, the Pacific Northwest, and the upper Midwest) offer rebates of $0.10–$0.30 per watt installed for efficient radiant systems, potentially returning $200–$900 on a typical sunroom project.
Cost Comparison: Key Cost Drivers for a 200 Sq Ft Sunroom
Where Does the Money Go? (Electric System, Full Professional Install)
Frequently Asked Questions
Can I install heated tile floors in a sunroom myself, or do I need a professional?
The tile and heating mat portion is genuinely DIY-friendly for anyone comfortable with basic tile work — many homeowners in 2026 successfully complete this part themselves using manufacturer video tutorials and technical support lines. However, the electrical connection absolutely requires a licensed electrician in virtually every U.S. jurisdiction due to GFCI circuit requirements and permit inspections. A realistic hybrid approach: hire an electrician for the circuit and thermostat wiring (~$400–$800), and handle the tile and mat installation yourself, saving $2,000–$3,000 on labor while maintaining code compliance and your system warranty.
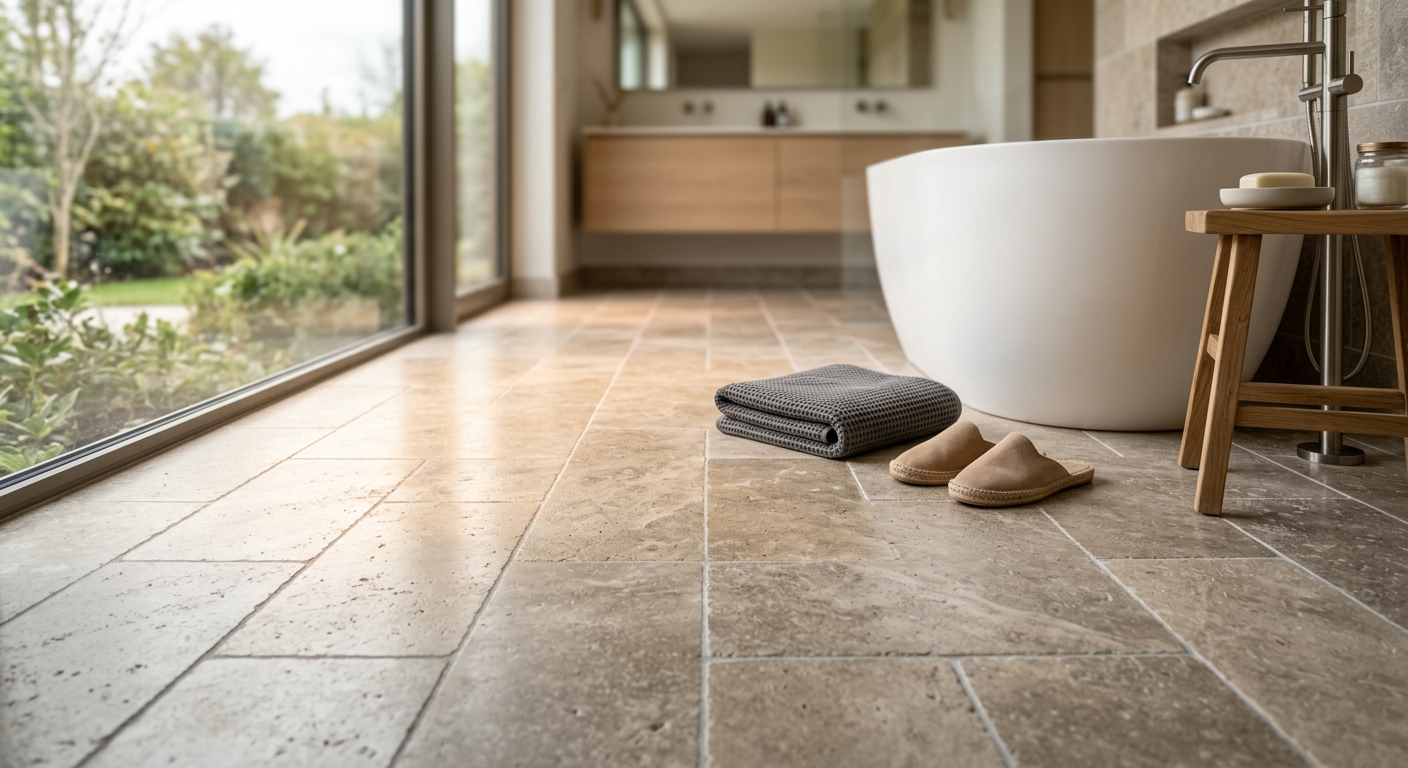
How long does it take for heated tile floors to warm up in a cold sunroom?
This depends heavily on the tile mass, insulation quality, and the delta-T (difference between current floor temp and target temp). A well-insulated sunroom with thin porcelain tile over a quality insulation membrane will typically reach comfortable floor temperature (around 75–80°F surface temp) within 30–60 minutes from a cold start. Thick stone tile or slate over an uninsulated slab can take 2–4 hours. This is precisely why smart thermostats with scheduling are so valuable — pre-heating the sunroom 45–60 minutes before you plan to use it costs very little energy but delivers a dramatically better experience.
Will heated floors damage my tile or grout over time?
When installed correctly, radiant heat is actually gentler on tile and grout than the temperature swings caused by conventional forced-air heating. The key is using flexible, polymer-modified thin-set and grout products rated for radiant heat applications, and ensuring the system is brought up to temperature gradually (never turn on a newly installed system for at least 21–28 days after tile installation). Manufacturers like LATICRETE, Mapei, and Custom Building Products offer complete system warranties — typically 10–25 years — that cover both the heating element and compatible setting materials when their specified products are used together. The combination of proper decoupling membrane, correct adhesive, and a thermostat with maximum floor temperature limits (set to 82°F or lower) means tile and grout longevity comparable to any standard installation.
Your Warm Sunroom Roadmap: From Cold Tile to Year-Round Comfort
Here’s the reality: a heated tile floor in your sunroom isn’t a complicated project — it’s a sequenced one. Get the sequence right, and you’ll have one of the most satisfying home improvements possible. Get it wrong, and you’re reliving the project 18 months later. Here are your five clear next steps:
- Assess your subfloor this week. Walk your sunroom. Look for cracks, feel for moisture, check door clearances. Note whether you have a concrete slab or wood subfloor. This single assessment determines your system options and your budget range.
- Get two electrical assessments before you buy anything. Have a licensed electrician evaluate your panel capacity and provide a quote for a dedicated circuit. This often-skipped step prevents expensive surprises mid-project.
- Choose your system based on your sunroom’s use pattern. Use the room daily in winter? Invest in a smart thermostat with geofencing. Occasional weekend use? A simple programmable thermostat will do. Don’t over-engineer the controls.
- Pull the permit. In 2026, most jurisdictions require permits for both the electrical work and structural tile installation over radiant systems. Permitted work protects your homeowner’s insurance coverage and your home resale value — skipping permits to save a few hundred dollars is a false economy.
- Plan for the first winter season realistically. Your first heating season is your calibration season. Expect to adjust thermostat schedules, fine-tune setpoints, and learn how your specific sunroom responds. Most homeowners find their “sweet spot” settings by January and maintain them for years afterward.
The broader trend is clear: in 2026, the sunroom is evolving from a seasonal curiosity into a legitimate living space extension — and heated floors are the single upgrade that makes that transformation real. As glass technology, smart controls, and radiant heating systems continue to converge, the four-season sunroom is becoming not just achievable but genuinely affordable for the average homeowner.
So here’s the question worth sitting with: What would it mean for your daily life to have a warm, inviting sunroom available 365 days a year? If the answer involves morning coffee, year-round plants, or simply a quiet retreat from the rest of the house — that answer is your real project brief. Start there, and let the cost and installation details serve that vision.