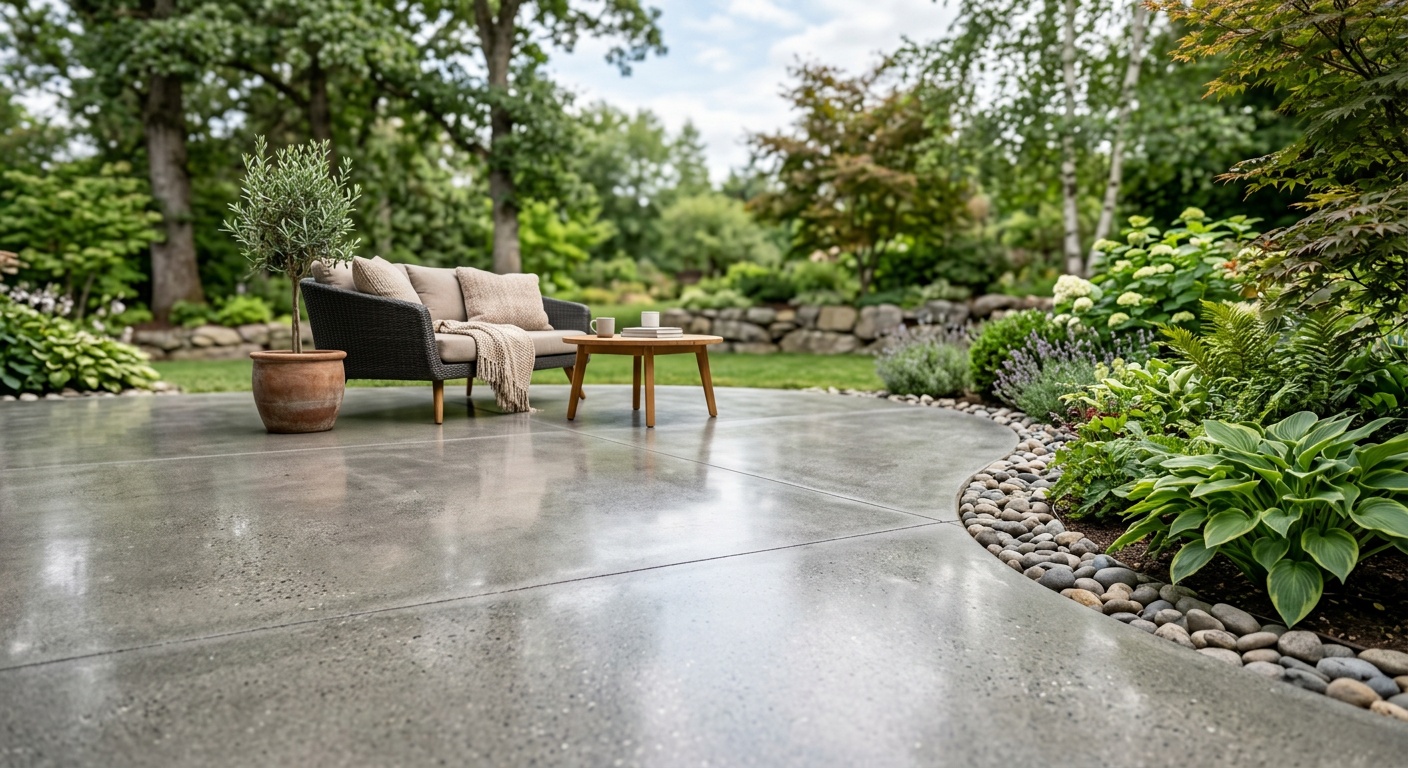
Concrete Patio Comfort: Cooling Strategies and Surface Sealing Guide
Reading time: 14 minutes
You step outside onto your patio on a July afternoon, and the heat hits you like opening an oven door. The concrete beneath your feet has been absorbing sunlight since 7 a.m., and now, at 3 p.m., it’s radiating that stored energy right back at you. Sound familiar? If your outdoor living space has become a no-go zone during summer months, you’re far from alone.
Here’s the straight talk: a concrete patio doesn’t have to be a solar collector that makes outdoor entertaining unbearable. With the right combination of cooling strategies and surface sealing techniques, you can reclaim that space and turn it into the comfortable, inviting outdoor room you originally envisioned. In 2026, with record-breaking heat events becoming increasingly common across North America, Europe, and Australia, understanding how to manage your patio’s thermal behavior isn’t just a comfort issue — it’s a quality-of-life necessity.
This guide breaks down the science, the practical strategies, and the product choices that will make a measurable difference. Whether you’re starting from scratch or retrofitting an existing patio, let’s turn a sweltering slab into a cool outdoor retreat.
Table of Contents
- Why Concrete Gets So Hot: The Science Behind the Sizzle
- Cooling Strategies That Actually Work
- Surface Sealing: Your Patio’s Best Defense
- Choosing the Right Sealer for Your Climate
- Comparing Cooling and Sealing Solutions
- Real-World Case Studies
- Common Challenges and How to Overcome Them
- FAQs
- Your Cool Patio Action Plan: Next Steps
Why Concrete Gets So Hot: The Science Behind the Sizzle
Before you can fix the problem, it helps to understand it. Concrete is a dense, dark-toned material with a high thermal mass — meaning it absorbs and stores significant amounts of heat energy throughout the day. Unlike lighter materials that reflect more solar radiation, standard gray concrete has a solar reflectance index (SRI) of roughly 35, compared to white reflective coatings that can reach SRI values above 100.
In practical terms, this means your standard concrete patio can reach surface temperatures of 140°F to 160°F (60°C to 71°C) on a sunny summer day when ambient air temperatures are around 90°F (32°C). That’s not just uncomfortable — it’s genuinely hazardous for bare feet, pets, and even patio furniture.
The thermal mass problem compounds over time. On hot days, concrete begins absorbing heat at sunrise and continues warming well into the afternoon. Even after the sun sets, the slab continues releasing stored heat for several hours, making evening gatherings uncomfortable well past sundown. A 2025 study published in the Journal of Building Performance found that unsealed, unshaded concrete patios retained measurable heat until nearly midnight during peak summer months in USDA Zone 7 and warmer climates.
Key Factors That Make Concrete Hotter
- Color and finish: Darker concrete absorbs more solar radiation. Smooth, polished finishes reflect slightly more than broom-finished surfaces.
- Surface moisture: Dry concrete heats faster than damp concrete. Evaporation carries heat away, which is why wet concrete feels cooler momentarily.
- Surrounding landscape: Patios surrounded by reflective walls, light-colored fencing, or lack of vegetation receive compounded solar exposure.
- Sealer type: Some sealers trap heat; others are specifically formulated to reflect it. This distinction matters enormously.
- Orientation: West-facing patios absorb the hottest afternoon sun and remain warmest into the evening.
Cooling Strategies That Actually Work
Now for the good news: there are proven, cost-effective strategies to dramatically reduce patio surface temperatures. The most effective approach combines multiple methods, addressing both direct heat absorption and ambient air temperature around the patio.
1. Shade Structures: The Single Biggest Impact
No cooling strategy compares to shade in terms of immediate, measurable temperature reduction. Studies from Arizona State University’s Urban Climate Research Center confirm that shading can reduce concrete surface temperatures by 40°F to 60°F (22°C to 33°C) compared to unshaded surfaces — sometimes more.
Your shade options in 2026 span a wide range of price points and aesthetics:
- Pergolas with shade sails: Combining a structural pergola with UV-blocking shade sails (look for fabrics with 95%+ UV block ratings) creates beautiful, functional shade that can be adjusted seasonally.
- Retractable awnings: Modern motorized awnings with wind and sun sensors have become significantly more affordable since 2024. Brands like Somfy and Sunesta now offer app-controlled systems in the $1,500–$4,000 installed range.
- Shade trees: Deciduous trees planted to the southwest of your patio provide maximum summer shade while allowing winter sun to warm the space after leaves drop. The investment takes 5–10 years to mature but provides the most natural, energy-efficient cooling solution available.
- Tensile fabric canopies: Architectural-grade HDPE shade fabric structures have grown in popularity for their modern aesthetic and relatively low cost compared to permanent roofed structures.
2. Reflective Coatings and Cool Concrete Products
Reflective coatings work by increasing your concrete’s Solar Reflectance Index, bouncing solar radiation away before it’s absorbed. In 2026, the market for cool pavement products has expanded considerably, driven in part by urban heat island mitigation requirements now mandated in cities like Los Angeles, Phoenix, and Miami.
Cool pavement coatings typically contain titanium dioxide or other reflective pigments. Applied over existing concrete, they can raise SRI values from 35 (standard gray) to 55–75, reducing peak surface temperatures by 20°F–35°F (11°C–19°C). Products like Sherwin-Williams’ H&C Cool-Pave series and BASF’s MasterProtect Cool Surface line represent current best-in-class options for residential use.
Pro Tip: When selecting a reflective coating, always check both the Solar Reflectance (SR) and Thermal Emittance (TE) values. A high SR means less heat absorbed; a high TE means heat that is absorbed gets re-emitted quickly rather than stored in the slab. You want both values to be high.
3. Misting Systems and Evaporative Cooling
Misting systems work on the same principle as natural evaporation — when water evaporates, it absorbs heat energy, cooling the surrounding air. High-pressure misting systems (operating at 1,000–1,500 PSI) produce ultra-fine droplets that evaporate almost instantly, cooling ambient air temperatures by 15°F–25°F (8°C–14°C) in low-humidity climates.
The effectiveness of misting systems depends heavily on relative humidity. In arid climates like Phoenix, Las Vegas, or Southern California, high-pressure misting systems are extremely effective. In humid climates like Houston, Miami, or the Gulf Coast, the air already holds substantial moisture, limiting evaporation and thus the cooling effect.
For humid-climate patios, consider pairing misting with ceiling fans or a pergola-mounted outdoor fan system to maximize the felt-temperature reduction through convective cooling.
If you’re exploring indoor-outdoor climate control concepts, the same evaporative principles discussed here translate indoors — understanding how to make room colder without ac can inspire creative solutions for covered patio spaces that blur the indoor-outdoor boundary.
4. Landscaping and Strategic Planting
Green infrastructure around your patio doesn’t just look beautiful — it actively cools the microclimate. Grass, groundcover plants, and garden beds surrounding concrete reduce the urban heat island effect by replacing heat-absorbing hardscape with moisture-releasing vegetation.
Research from the University of Melbourne published in 2025 found that patios with at least 40% soft landscaping within a 10-foot perimeter experienced ambient temperatures 8°F–12°F (4°C–7°C) lower than equivalent patios surrounded entirely by hardscape. Consider:
- Planting low-growing groundcovers along patio edges
- Installing raised planter beds that provide both shade and evaporative cooling
- Using climbing plants on pergola structures for natural, living shade
- Incorporating a water feature — even a modest fountain adds evaporative cooling and acoustic masking
Surface Sealing: Your Patio’s Best Defense
Surface sealing is where comfort meets durability. The right sealer doesn’t just protect your concrete from stains, freeze-thaw damage, and UV degradation — it can meaningfully influence the thermal behavior of your patio surface. Choosing poorly, however, can trap heat, create slip hazards, or require costly removal and reapplication within just a few seasons.
The Four Main Categories of Concrete Sealers
Understanding the fundamental categories helps you match the product to your specific climate, aesthetic goals, and performance requirements.
Penetrating Sealers (Silane, Siloxane, Siliconate)
These sealers work below the surface, reacting with concrete’s alkaline chemistry to create a hydrophobic barrier within the pores of the slab. They don’t change the appearance of concrete meaningfully — no gloss, no color shift — making them ideal for natural-look installations. Because they don’t create a surface film, they don’t trap heat the way film-forming sealers can.
Best for: Cold climates with freeze-thaw cycles, areas with deicing salt exposure, natural-look aesthetic preferences, and lower-maintenance approaches. Typical reapplication interval: 5–10 years.
Acrylic Sealers
The most widely used category for residential patios, acrylic sealers create a thin protective film on the concrete surface. They’re available in solvent-based and water-based formulations, with varying levels of gloss from flat to high-shine. Many homeowners choose acrylic sealers for their ability to enhance color in stamped or colored concrete.
Heat consideration: Standard acrylic sealers can slightly increase surface heat absorption due to their film-forming nature. However, cool-pigment acrylic sealers now available from manufacturers like RadonSeal and Foundation Armor are formulated to minimize this effect while maintaining the aesthetic enhancement acrylic is known for.
Epoxy and Polyurethane Sealers
These are the heavy-duty options — thick, durable coatings that bond exceptionally well to concrete and resist chemical spills, abrasion, and heavy foot traffic. They’re commonly used in garage floors but have grown in popularity for high-use outdoor patios. Their greater film thickness makes them more prone to heat retention than thinner penetrating or acrylic options.
Best for: High-traffic areas, commercial applications, patios adjacent to grilling stations or workshop areas where chemical or oil exposure is possible.
Polyaspartic Sealers
The fastest-growing category in 2026’s residential market, polyaspartic coatings cure rapidly (often within hours rather than days), offer excellent UV stability — a major advantage over epoxy, which yellows in sunlight — and provide outstanding durability. They’re now available in cool-pigment formulations that balance protection with thermal management.
Choosing the Right Sealer for Your Climate
Climate is the single most important factor in sealer selection. What performs beautifully in San Diego can fail catastrophically in Minneapolis. Here’s a climate-based decision framework:
- Cold climates (USDA Zones 3–5): Prioritize penetrating silane/siloxane sealers for maximum freeze-thaw protection. Avoid film-forming sealers on exterior concrete, as they can trap moisture that freezes and causes delamination.
- Hot-arid climates (Phoenix, Las Vegas, Tucson): Focus on UV resistance and reflective properties. Polyaspartic or water-based acrylic sealers with cool-pigment additives perform best. Reapply every 2–3 years due to intense UV exposure.
- Hot-humid climates (Houston, Miami, Atlanta): Prioritize mold and mildew resistance. Look for sealers with antimicrobial additives. Water-based formulations generally outperform solvent-based in high-humidity applications due to better moisture vapor permeability.
- Temperate climates (Pacific Northwest, much of Europe): Penetrating sealers with good waterproofing properties work well. Aesthetic enhancement isn’t complicated by extreme thermal stress, so acrylic options are viable.
Comparing Cooling and Sealing Solutions
The following table summarizes key metrics across the most popular patio cooling and sealing approaches to help you make informed decisions:
| Solution | Avg. Temp Reduction | Upfront Cost (100 sq ft) | Lifespan | DIY Friendly? |
|---|---|---|---|---|
| Shade Sail / Pergola | 40°F–60°F surface | $300–$2,500+ | 10–25 years | Yes (sail); No (pergola) |
| Reflective Cool Coating | 20°F–35°F surface | $80–$220 | 3–7 years | Yes |
| High-Pressure Misting System | 15°F–25°F ambient | $400–$1,800 | 8–15 years | Moderate |
| Penetrating Silane Sealer | Minimal (protection focus) | $40–$100 | 5–10 years | Yes |
| Polyaspartic Coating | 5°F–15°F (cool-pigment) | $150–$350 | 7–15 years | Moderate |
Surface Temperature Reduction by Solution (Visualization)
Peak Surface Temperature Reduction (°F)
Real-World Case Studies
Case Study 1: The Phoenix Retrofit — Combining Strategies
In 2025, a homeowner in Scottsdale, Arizona with a 600-square-foot south-facing concrete patio undertook a full thermal retrofit. The patio was virtually unusable from May through September — surface temperatures regularly exceeded 155°F by early afternoon.
The approach taken was layered:
- A 16’x20′ motorized retractable awning with 97% UV blockage fabric was installed ($3,200 installed)
- The existing concrete was cleaned, etched, and coated with a two-coat cool-pigment water-based acrylic sealer in light sandstone tone
- A 6-nozzle high-pressure misting system was integrated with the awning structure
- Three desert willow trees were planted in raised planters along the west wall
The result: peak afternoon surface temperatures dropped from 155°F to approximately 95°F — a 60°F reduction. Ambient temperature under the awning with misting running measured 20°F–25°F cooler than the unshaded driveway adjacent to the property. The family reported using the patio throughout the summer for the first time in five years. Total investment: approximately $5,800.
Case Study 2: The Pacific Northwest Sealer Dilemma
A homeowner in Portland, Oregon faced a different challenge: a 400-square-foot exposed aggregate patio that was crumbling along the edges due to moisture infiltration and the region’s freeze-thaw cycles. Surface heat wasn’t a major concern — the Pacific Northwest rarely sees the extreme temperatures of the Southwest — but durability and moisture management were critical.
After consulting with a local concrete contractor, they chose a two-product approach: a deep-penetrating silane-siloxane sealer applied first to create internal waterproofing, followed by a thin-film water-based acrylic sealer to enhance the appearance of the exposed aggregate while providing a secondary moisture barrier. The combination proved significantly more durable than a single-product approach; by early 2026, 18 months after application, the concrete showed no new cracking and the aggregate finish remained vibrant.
Total cost for materials on the 400-square-foot space: approximately $240. Professional application added $600 to the project cost, though the homeowner noted the professional application achieved a more uniform finish than a DIY approach likely would have.
Common Challenges and How to Overcome Them
Challenge 1: Existing Sealer Conflicts
One of the most common mistakes homeowners make is applying a new sealer over an incompatible existing sealer. Oil-based acrylics and solvent-based sealers are particularly problematic — applying a water-based product over them can cause delamination, bubbling, or complete adhesion failure.
Solution: Always identify your existing sealer type before purchasing a new product. The easiest test: sprinkle a few drops of water on the surface. If they bead up vigorously, you have an active sealer. The xylene test (applying a small amount of xylene solvent to an inconspicuous area) can help identify solvent-based versus water-based existing sealers. When in doubt, use a sealer stripper or consult a professional before reapplication.
Challenge 2: Glare from Reflective Coatings
A legitimate drawback of high-SRI reflective coatings is increased glare. While you want the coating to reflect solar radiation, you don’t want it creating a blinding, uncomfortable surface. In 2026, this has been addressed by many manufacturers through the development of textured reflective coatings that maintain high SRI values while diffusing reflected light rather than creating a mirror-like glare. Look for products specifically marketed as “non-glare” or “textured” in their product descriptions.
Challenge 3: Sealer Slipperiness When Wet
High-gloss film-forming sealers can become dangerously slippery when wet, particularly around pool decks, near outdoor showers, or in areas that receive regular irrigation overspray. This is a safety issue that shouldn’t be ignored.
Solution: Two approaches work well. First, choose sealers with anti-slip additives already incorporated — many manufacturers now offer “anti-slip” variants of their standard formulas. Second, broadcast fine silica sand or anti-slip aggregate into the wet sealer during application. This adds texture without meaningfully affecting the sealer’s protective properties and dramatically improves wet traction.
FAQs
How often should I reseal my concrete patio?
Resealing frequency depends primarily on your sealer type and climate. Penetrating silane/siloxane sealers typically last 5–10 years and are best tested annually using a water bead test. If water no longer beads on the surface, reapplication is due. Acrylic film-forming sealers in high-UV environments typically require reapplication every 2–3 years; in milder climates, every 3–5 years is reasonable. Polyaspartic and polyurethane systems are the most durable, often lasting 7–15 years before requiring re-coating. Always clean and lightly etch or abrade the surface before applying fresh sealer.
Can I apply a reflective coating to stamped or colored concrete without affecting the appearance?
Yes, with the right product selection. Clear or lightly tinted water-based acrylic sealers with cool-pigment technology can be applied to stamped and colored concrete, enhancing the appearance while increasing reflectivity. Avoid heavily pigmented cool coatings unless you intend to change the surface color. Always test any new sealer or coating on a small inconspicuous area first — a 12-inch square in a corner is ideal — and evaluate the appearance after full curing (typically 24–72 hours) before committing to a full application. The goal is compatibility with your existing color and the beauty of the texture investment you’ve already made.
Is a misting system worth the investment for a small patio?
For small patios under 150 square feet, a full high-pressure misting system may be more investment than necessary. In arid climates, portable misting fans (ranging from $80 to $300) can deliver meaningful cooling for compact spaces without permanent installation. For patios 200 square feet and larger, particularly those in hot-arid climates where misting effectiveness is highest, a permanent system typically provides a strong return through increased outdoor living hours and potential home value enhancement. The key variables are your local humidity level and how frequently you actually use the patio — in climates above 60% average relative humidity, misting systems deliver diminishing returns regardless of patio size.
Your Cool Patio Action Plan: Next Steps
You now have the framework — let’s turn it into action. Here’s a practical implementation roadmap you can begin this week:
- Assess your current surface (Days 1–2): Conduct the water bead test to check your sealer’s condition. Note your patio’s orientation (south/west-facing patios have the greatest cooling priority) and measure your shaded versus unshaded square footage at peak afternoon hours.
- Select your primary cooling strategy (Days 3–5): Based on the comparative table and your climate zone, identify whether shade, reflective coating, misting, or landscaping delivers the best ROI for your specific situation. For most homeowners, shade is the highest-impact first investment.
- Choose and apply the right sealer (Week 2–3): Use the climate-based framework in this guide to select your sealer category, then shortlist 2–3 specific products. Read manufacturer data sheets — not just marketing materials — paying specific attention to SRI values, reapplication intervals, and slip-resistance ratings.
- Implement layered solutions gradually: You don’t need to do everything at once. Start with a reflective sealer this season; plan a shade structure for next spring. Layering solutions over 1–2 seasons is financially manageable and lets you evaluate each change’s impact.
- Monitor and adjust annually: Each spring, walk your patio with fresh eyes. Check sealer condition, note any new cracking or moisture damage, and evaluate whether your cooling measures are keeping pace with your local climate trends.
The broader context here matters: urban heat events are intensifying. Cities across the developed world are now implementing cool pavement standards for public infrastructure, and residential patios are increasingly recognized as a meaningful contributor to neighborhood-level heat islands. The choices you make for your backyard aren’t just personal comfort decisions — they’re small contributions to a larger thermal ecosystem.
Your patio can be the coolest spot in the neighborhood — literally. Armed with this guide, you have everything you need to make it happen. So here’s the question worth sitting with: What’s the one change you could make this month that would have the biggest impact on how much you actually use and enjoy your outdoor space? Start there, and build from it.
About the Author
